Creating an Agent
Create your AI phone agent in about 2 minutes. You’ll pick a name, choose a voice, and set it up with your business information.
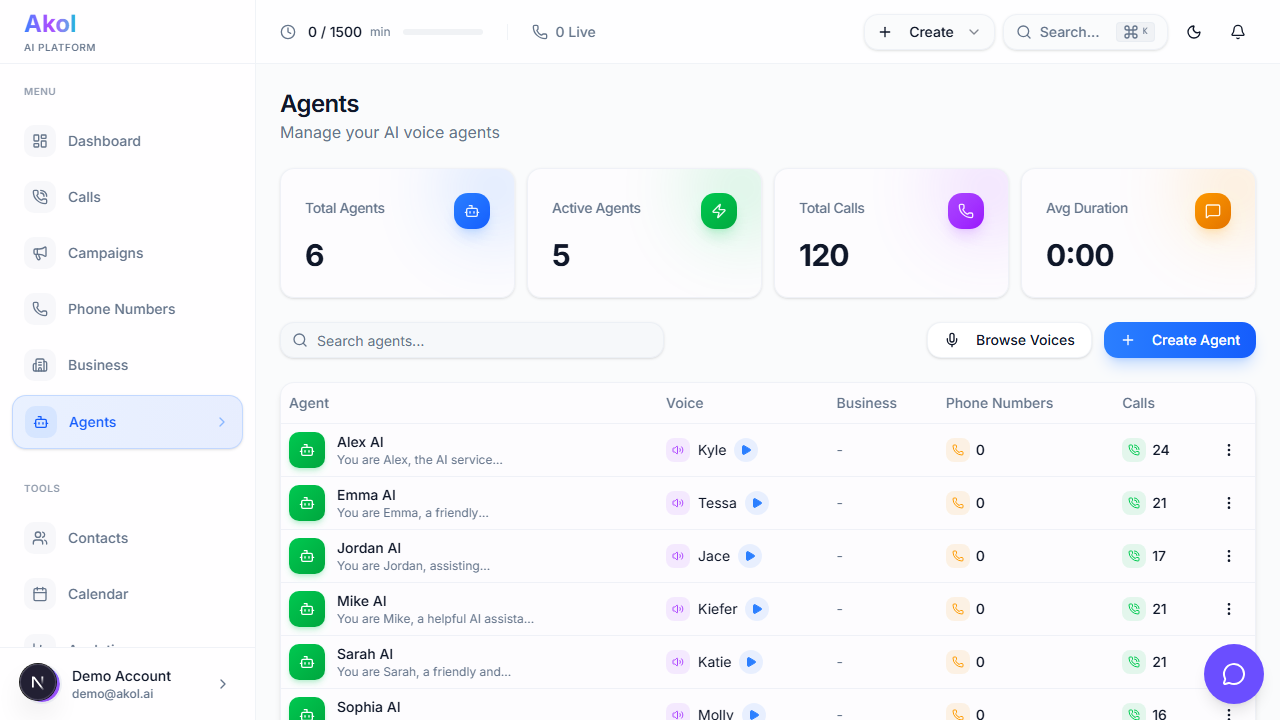
Go to Agents
Navigate to Dashboard > Agents and click Create Agent.
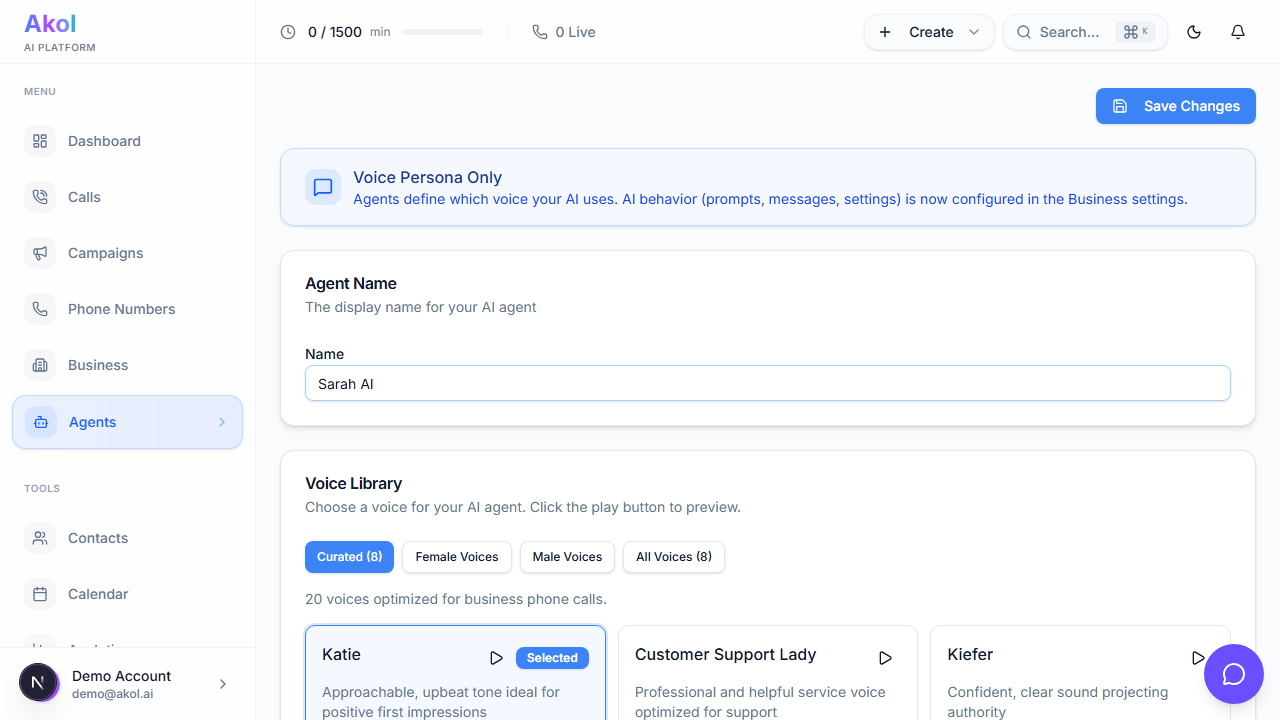
Choose a Name
Give your agent a name that sounds natural. This is what callers will hear.
Good examples: Sarah, Mike, Alex, Emma, Chris
Pick a Voice
Browse the voice library — you’ll see a grid of voices you can preview:
- Filter by gender — Click Female or Male buttons to filter
- Listen to samples — Click the play button on any voice card to hear how it sounds
- Select a voice — Click on a voice card to choose it
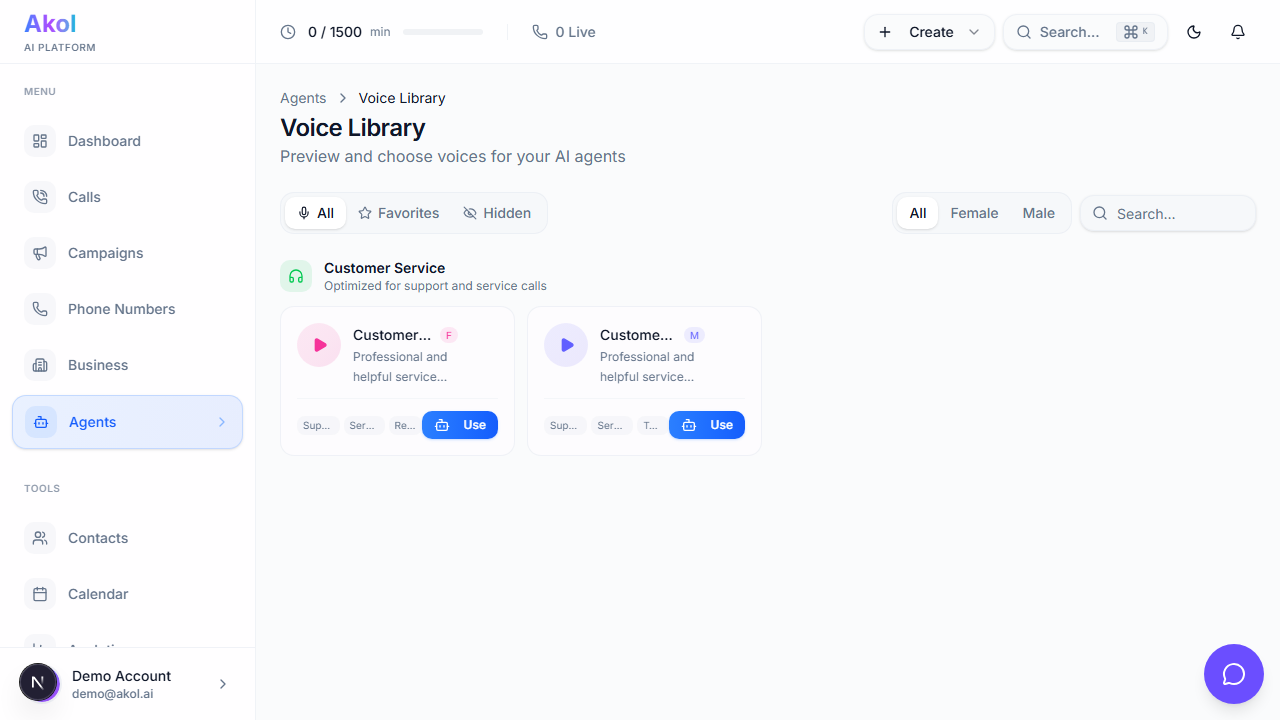
Take your time picking a voice. It’s the first thing callers hear and sets the tone for your business. You can always change it later.
Set Speaking Speed
Adjust how fast your agent talks using the speed slider:
- 0.5x–0.8x — Slower, good for conveying important details
- 1.0x — Normal speed (recommended to start)
- 1.2x–2.0x — Faster, for quick interactions
Click Create Agent
Hit the Create Agent button and your agent is ready.
Additional Settings
After creating your agent, you can fine-tune these settings on the agent detail page:
Interruption Sensitivity
Control how easily callers can interrupt your agent mid-sentence. Use the slider (0 to 1):
- Low (0.0–0.3) — Agent finishes its sentence before listening. Good for delivering important information.
- Medium (0.5) — Balanced. Recommended for most businesses.
- High (0.7–1.0) — Agent stops talking quickly when the caller speaks. Good for fast-paced conversations.
Activating and Deactivating Your Agent
Once your agent is created, you can toggle it on or off from the agent detail page. An inactive agent won’t answer any calls.

What’s Next?
After creating your agent, you can:
- Customize it further — Adjust voice settings and interruption sensitivity
- Set up your business profile — Add services, FAQs, knowledge base, and transfer rules
- Get a phone number — So customers can start calling